I found a 1950-1960s style wooden dresser at the local thrift store for $20. The drawers were solid, I had to bring it home. There were a few problems to address.
- White latex paint, heavy coat with runs
- Pink coat of paint under white
- Black coat of paint under pink on some drawers
- Top had flowers and bows stenciled with paint
Other than that, we were good to go. I started painting and gave up the day I brought it home. Too much black paint to get down to the original wood. After getting some ideas online I went back to work on this dresser.
 |
| Dresser Before |
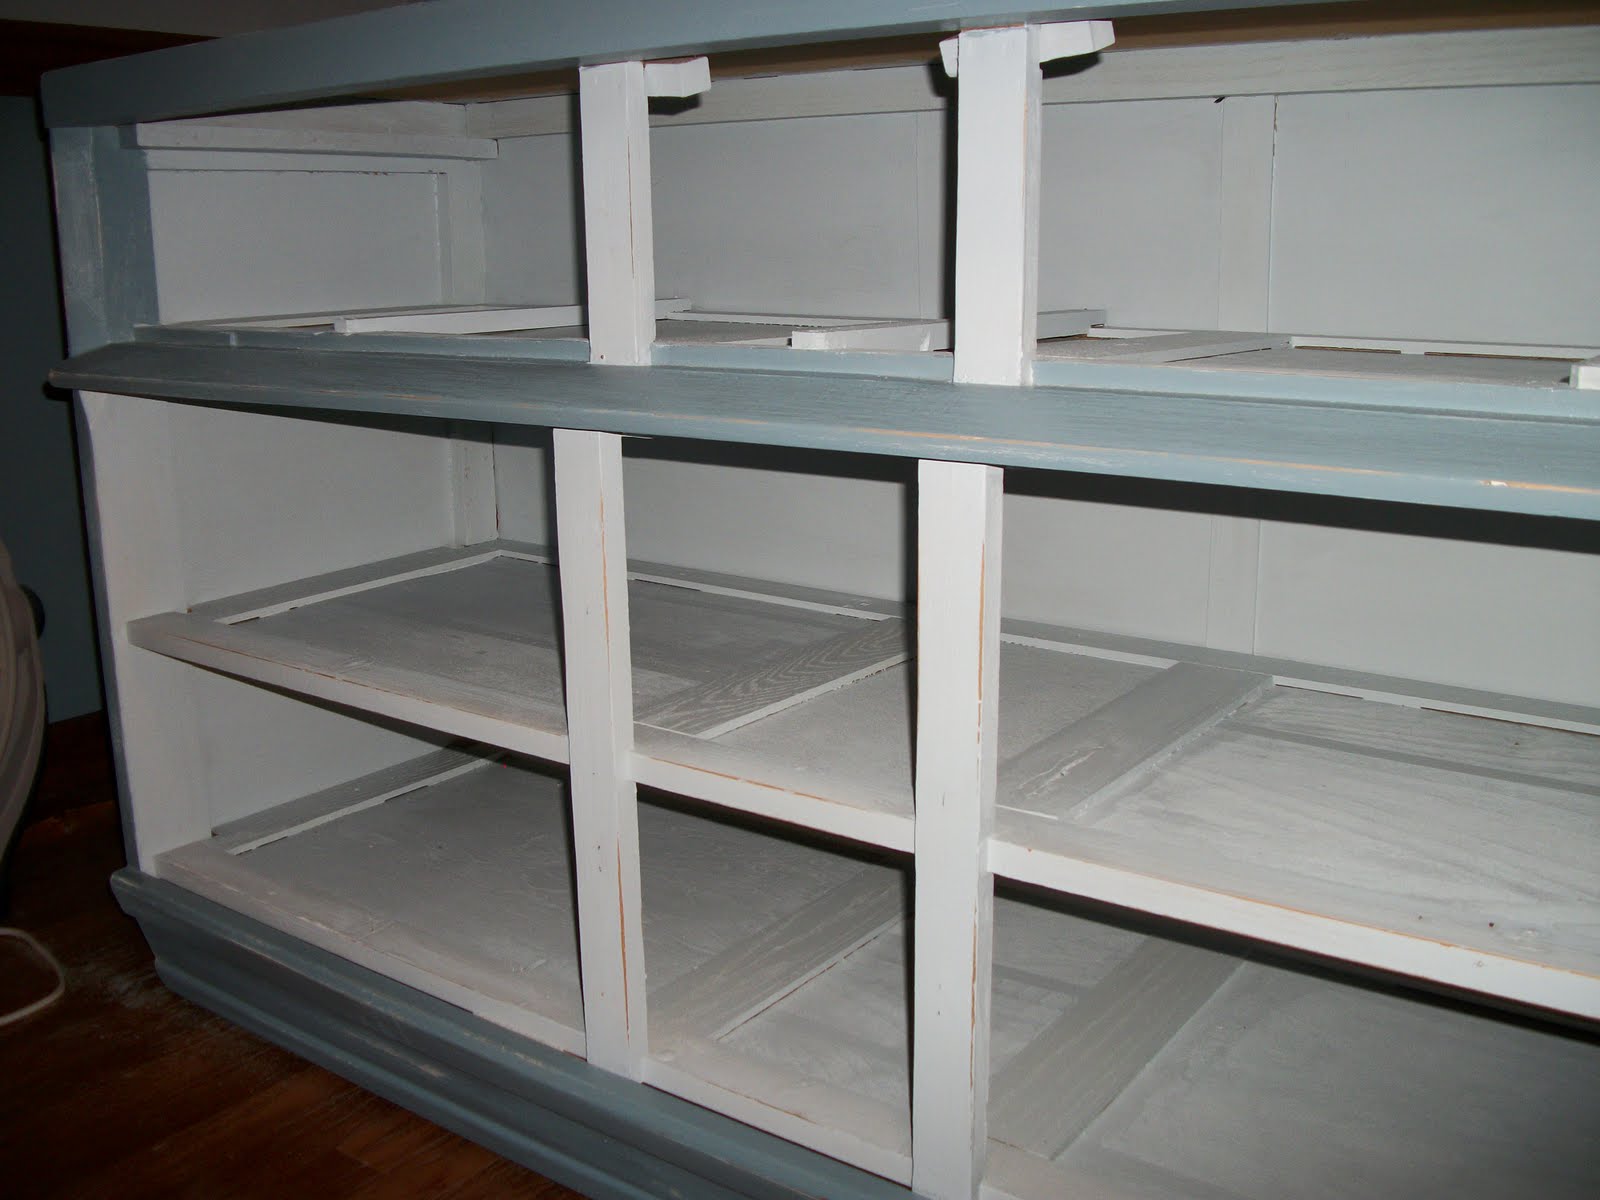
I decided to take out the bottom two rows of drawers and turn this into shelving. Later we can insert baskets for storage or utilize this for books. The top row will have the original decorative drawers.
After a brisk sanding with 100 grit sand paper, I gave it a wipe down with soapy water. The sand paper took off the major dirt and paint runs and roughed up the surface for the new paint to bind. I took out the drawer bars for the bottom two rows then painted with Behr satin interior paint in a light blue. It really made this piece pop!
 |
| Distressing the edges so the piece looks used. |
Painting the outside took the longest time. I used Behr semi-gloss in a darker blue. I used two coats. The distressed look of coastal cottage furniture is what I was going for. Before the paint dried completely I took 100 grit sand paper to the edges and areas of the drawers and shelves. My eight year old son helped me rough up the paint. We lightly sanded the whole piece so that it looked aged and not shiny.
 |
| Really accent the dents and dings in the piece. |
 |
| See how the light blue just opens this piece right up! |
|
I am working on the drawers and will post those pictures when finished. The board under the first row sticks out and curves down about 2 1/2 inches. I am not sure yet if I will be making a curtain to hang underneath that to hide the bottom two shelves or just leave it open and put in some cute natural toned baskets.
Painted the top three drawers white and put glass drawer pulls on them. I lined the bottom inside with glue and old book pages.
 |
| Painted white and lined with book pages. |
Final project will now serve as a media center or storage unit.
 |
| New distressed media center/storage unit. |
|
|
|
Happy with the outcome. Looking forward to more projects like this!